Unlock the Power of Google Voice Business: A Step-by-Step Guide to Activation
In today’s digital age, having a strong online presence is paramount for the success of any business. One of the key tools that can help boost your business is Google Voice. This powerful communication tool offers a wide range of features that can help streamline your business operations and improve customer experience. In this article, we will explore how you can unlock the power of Google Voice for your business through a step-by-step guide to activation.
Boost Your Business With Google Voice!
Google Voice is a versatile communication platform that allows you to make and receive calls, send text messages, and voicemails all from one convenient phone number. This can be particularly beneficial for small businesses or startups that may not have the resources to invest in a separate phone system. By using Google Voice, you can project a professional image to your customers while keeping your personal and business communications separate.
One of the key advantages of Google Voice is its flexibility. You can use Google Voice on any device, whether it’s a smartphone, tablet, or computer. This means that you can stay connected to your business no matter where you are. Additionally, Google Voice offers a range of features such as call screening, voicemail transcription, and call forwarding, which can help you manage your communications more effectively.

Image Source: androidauthority.com
Activate the Magic: A Step-by-Step Guide
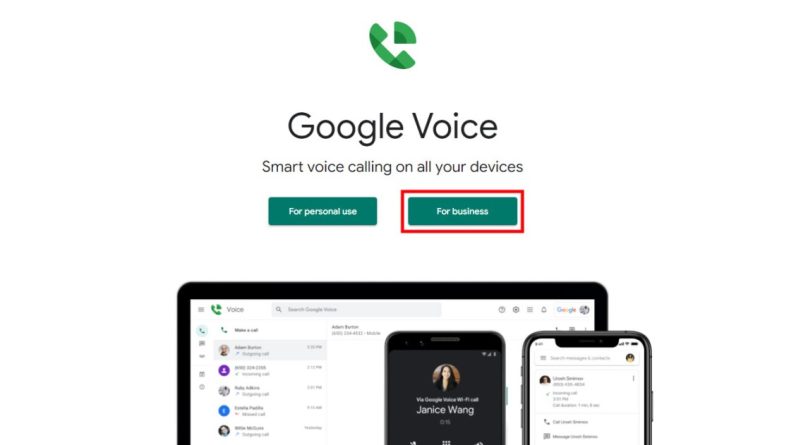
Activating Google Voice for your business is a simple process that can be done in just a few easy steps. To get started, you will need to create a Google account if you don’t already have one. Once you have a Google account, you can sign in and navigate to the Google Voice website.
Next, you will need to choose a phone number for your Google Voice account. You can either select a new number or port an existing number to Google Voice. Choosing a new number can be a great way to establish a dedicated business line, while porting an existing number can help you maintain continuity with your current customers.
After selecting a phone number, you will need to verify your existing phone number. This is done to ensure that you are the rightful owner of the number and to prevent unauthorized use of Google Voice. Once your phone number is verified, you can start using Google Voice to make and receive calls, send text messages, and access voicemail.
Once you have activated Google Voice for your business, you can start exploring the various features and settings that are available to you. For example, you can customize your voicemail greeting, set up call forwarding rules, and block unwanted callers. These features can help you manage your communications more efficiently and provide a better experience for your customers.

Image Source: insider.com
In conclusion, Google Voice is a powerful tool that can help boost your business and improve customer experience. By following this step-by-step guide to activation, you can unlock the full potential of Google Voice for your business. So why wait? Activate Google Voice today and start reaping the benefits for your business!
Activate the Magic: A Step-by-Step Guide
Are you ready to unlock the power of Google Voice for your business? With its array of features and benefits, Google Voice is a valuable tool that can help streamline communication and enhance your overall business operations. In this step-by-step guide, we will walk you through the process of activating Google Voice for your business so you can start reaping the benefits right away.
Step 1: Setting Up Your Google Account
The first step to activating Google Voice for your business is to ensure that you have a Google account set up. If you already have a Google account, you can skip this step. If not, simply visit the Google website and follow the prompts to create an account. Make sure to use a professional email address that is associated with your business.
Step 2: Accessing Google Voice

Image Source: devoteam.com
Once you have your Google account set up, navigate to the Google Voice website. Sign in with your Google account credentials and you will be directed to the Google Voice dashboard. This is where you will manage all of your Google Voice settings and preferences.
Step 3: Choosing a Google Voice Number
One of the key features of Google Voice is the ability to choose a unique phone number for your business. You can select a new number or use your existing number, depending on your preference. Choosing a new number can help establish a professional image for your business and make it easier for customers to reach you.
Step 4: Verifying Your Phone Number
In order to activate your Google Voice number, you will need to verify your phone number. Google Voice will send a verification code to the phone number you provide. Simply enter the code when prompted to complete the verification process.
Step 5: Setting Up Call Forwarding
Once your Google Voice number is verified, you can start setting up call forwarding to ensure that you never miss a call from a customer. You can choose to have calls forwarded to your mobile phone, landline, or any other phone number of your choice. This allows you to stay connected with your customers no matter where you are.
Step 6: Customizing Greetings and Voicemail
Another great feature of Google Voice is the ability to customize greetings and voicemail messages for your business. You can record personalized greetings for different scenarios, such as business hours, after hours, or when you are away from the office. This helps create a professional and polished image for your business.
Step 7: Managing Text Messages
In addition to phone calls, Google Voice also allows you to send and receive text messages from your business number. You can manage all of your text messages directly from the Google Voice dashboard, making it easy to stay in touch with your customers in a convenient and efficient way.
Step 8: Integrating with Google Workspace
If your business uses Google Workspace, you can easily integrate Google Voice with your existing tools and applications. This allows for seamless communication and collaboration across all aspects of your business, making it easier to stay organized and efficient.
Step 9: Exploring Additional Features
Google Voice offers a variety of additional features that can further enhance your business communication capabilities. From call screening and blocking to conference calling and call recording, there are many tools at your disposal to help you manage your business communications effectively.
Step 10: Monitoring and Analyzing Performance
Once you have activated Google Voice for your business, it’s important to monitor and analyze its performance to ensure that you are getting the most out of the platform. You can track call volume, response times, and other key metrics to identify areas for improvement and make adjustments as needed.
In conclusion, activating Google Voice for your business is a simple and straightforward process that can bring a wide range of benefits to your organization. By following this step-by-step guide, you can unlock the power of Google Voice and take your business communication to the next level. So why wait? Activate the magic of Google Voice today and start reaping the rewards for your business.